How to photograph the birds in your garden
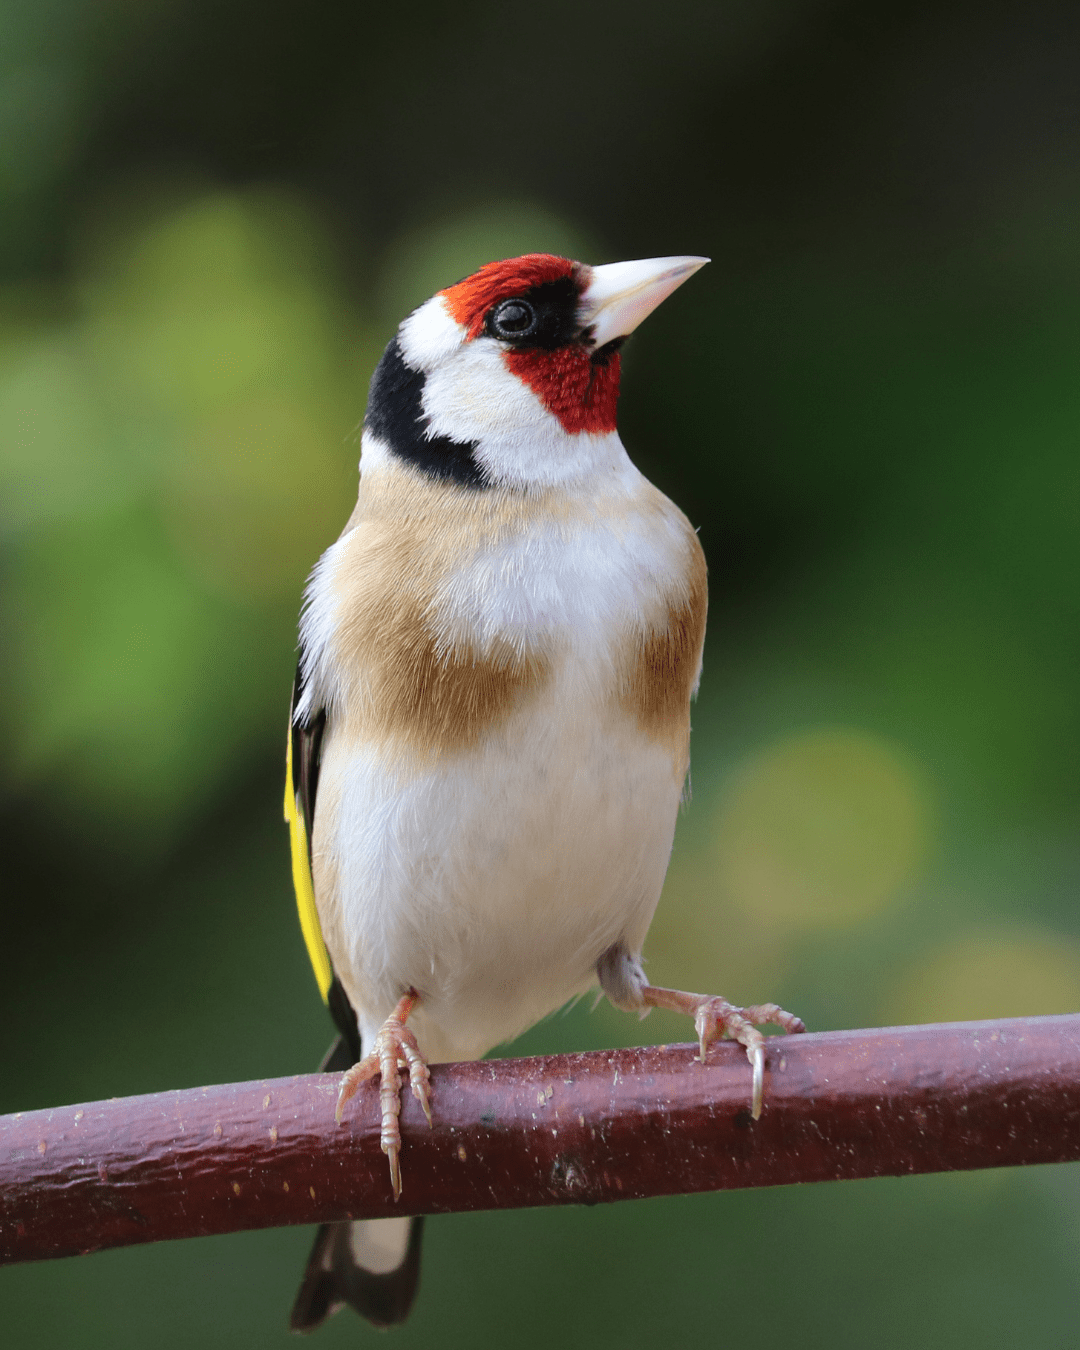
My love of feeding the birds in our garden all started with our first goldfinch visit. I saw a flash of red and gold and sprinted upstairs, smartphone in hand, to capture the moment. I look at that photo from time to time and remember how it all began - even though it’s out of focus, the picture still means a lot to me.
There is every chance I’m the only one in our flock of bird lovers who is truly terrible at photographing our feathered friends - I’m sure everyone else is highly professional! I decided to start reading up on wildlife photography and improve my skills a few months ago, and decided to share what I discovered. If you have tips of your own it would be lovely to hear them, and you know I’m always keen to see your photos.
The right setup
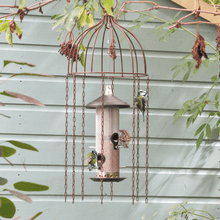
The most crucial thing for wildlife photography is to have the wildlife in the first place! If you are already a subscriber, you will have the right bird food in our gardens, and hopefully we have plenty of visitors already. To ensure the birds feel comfortable in your space, it is worth double checking the position of your feeder (too exposed and the birds will be vulnerable to birds of prey, too close to the fence and cats, squirrels and foxes can get to the birds while they eat. If you position a feeder close to a sturdy tree or shrub, you’ll have a landing platform for the birds to use while they scope out the area before feeding. Photographing the birds on that branch or stem is a brilliant way to ensure a great, natural shot. I know from your messages that you spend time watching your garden, which makes us all natural bird photography experts before we even pick up a camera! Lots of time observing the birds is a great way to predict how they might behave in your photos - are they naturally slower or more skittish? Are they aggressive and territorial? The more you know, the more you can anticipate the way the bird will move. To avoid frustration, it is a good idea to start with photos of a larger, slower bird before progressing to the more skittish, smaller birds.
Wildlife Photography Composition
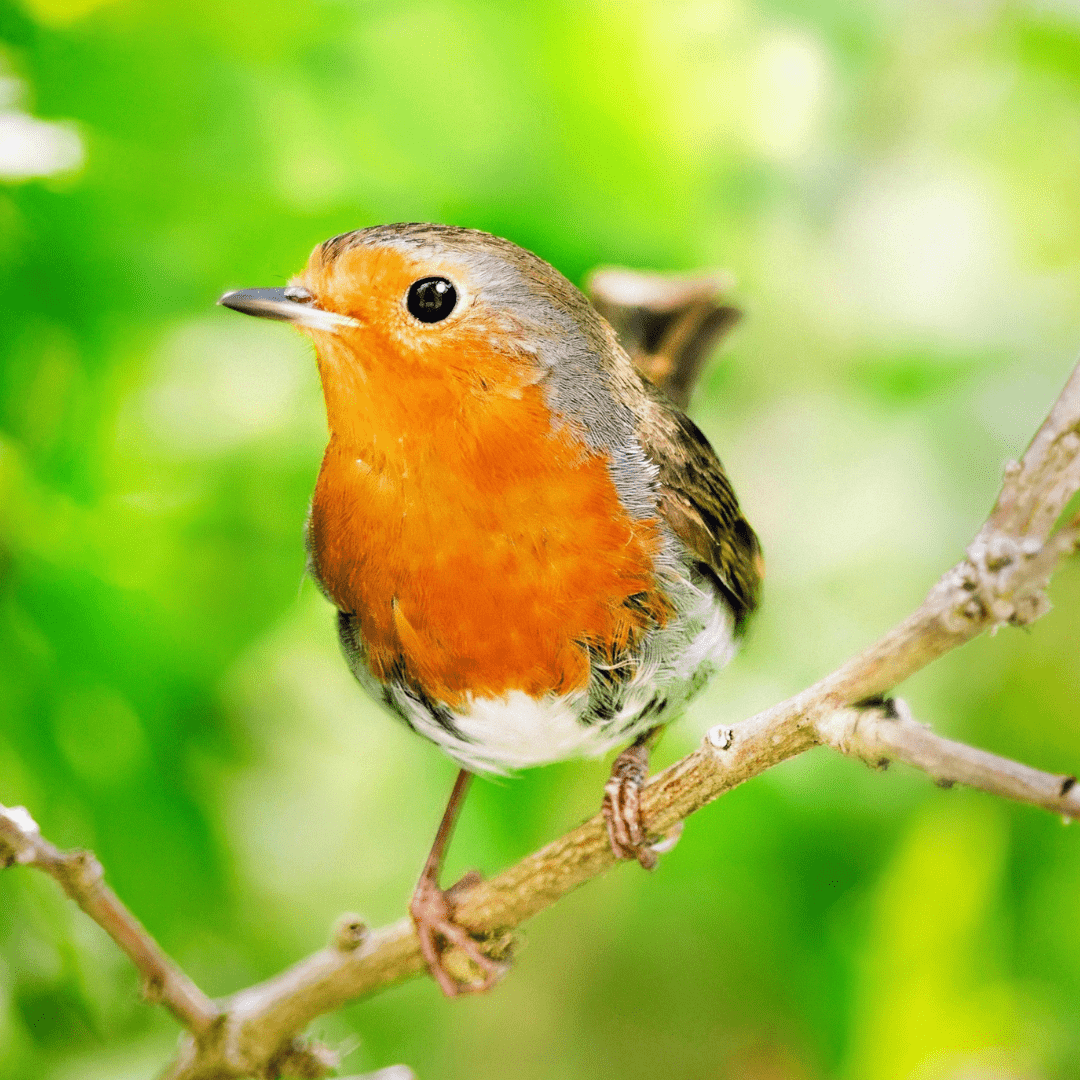
I was very quick to blame my camera when I started trying to take photos of the birds, but luckily I decided to do my research before buying a fancy new one. I soon learnt that there are so many aspects of photography to understand before even thinking about splashing out on a camera. Composition refers to how the subject of your shot is positioned within the frame - if the bird is right in the centre of your photo it may look boring and static, whereas if the bird is off-centre it creates a little more interest. The rule of thirds dictates that the subject should be positioned in the right or left third of the picture, leaving the rest more open, and you could also take a really effective photo where the bird takes up the entire frame. Another thing to consider is your background; you want to aim for something uncluttered, and in a contrasting pallet to the bird’s plumage. Look for muted greens and blues so the background won’t distract from the shot. You can tell a story through your photo, whether it’s two birds in a battle over territory, a courtship display or a bird feeding its young or eating its prey. Think about the seasons too - can you contrast the bird with beautiful blossom or berries? Could you make a feature of the weather in your shot, perhaps taking a photo in snow or frost? In terms of the light, you want a bright, clear day for the best levels, and photos taken in golden hour (the time just after sunrise or before sunset) is a perfect time to shoot to avoid harsh shadows. The light will be diffused and soft and add a warm glow to your pictures, and as an added bonus, that first hour of the day is when lots of birds are active. If you can’t make golden hour, aim to have the sunshine behind you.
The right spot
Ideally, we would all have a wildlife hide positioned in the garden ready for our photography sessions but unfortunately that’s not something I have room for in my garden. If you really want to go for it, you could invest in a pop-up hide for around £90, but most of us will be taking our pictures from the window, or from a space in the garden. If you’re taking your photo from inside, try to ensure the feeder and landing station mentioned earlier are fairly close to the window - you can use cut branches if there isn’t a tree or shrub in the ideal location, and when you’re starting out a more solid and sturdy branch will reduce the chances of vibration and a shaky shot. A clear, uninterrupted view is best, and it’s a good idea to clean or open the window to avoid a blurred shot. You need to rest the camera or smartphone on something, whether that might be a window ledge, cabinet or a sturdy tripod to avoid a shaky image. If you are taking your photo outside, move slowly and calmly, making as little noise as possible. If you want to get a little closer, walk in a zigzag pattern rather than a straight line and look away from the bird - eye contact is perceived as a threat. Whether you are outside or inside, beige or green clothing is a better choice than something bright.
Ready to go?
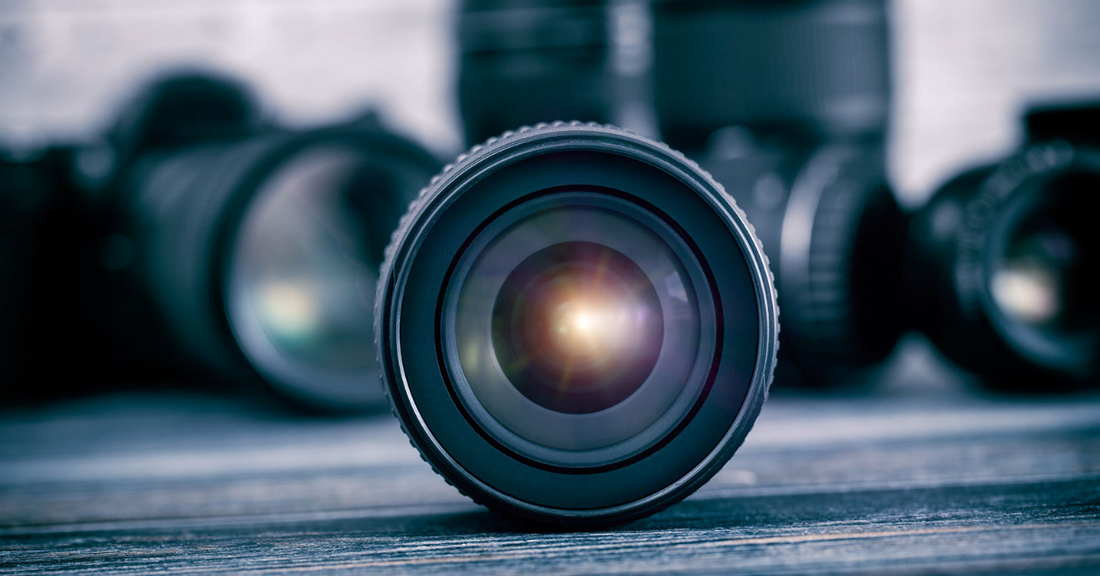
If you’ve had a practice and are keen to take your photography to the next level, most experts recommend a digital SLR camera, specifically an Advanced Photo System type-C (APS-C) model with a 300mm or 500mm telephoto lens for clear images. The camera should be capable of taking at least three to five frames per second, and have the capability of shooting with a 1/2000 of a second shutter speed. You should focus the camera on a single point (usually the bird’s eye) and can use a remote shutter release to avoid moving the camera and blurring the shot. There are lots of fantastic professional camera apps for your smartphone too, allowing you to adjust all sorts of settings, and you can get great results using the timed shutter to ensure you’re not shaking the phone.
I chatted with April Mayne for advice, and she emphasised that the key to taking fantastic photos is loads of practice! I would absolutely love to see your pictures - you can tag me on Instagram and Facebook @alittlebirdcompanyuk, send them to info@alittlebirdcompany.co.uk or add them to your reviews for a 10% off discount on your next purchase.

